
How to Wrap a Bouquet With RIbbon: A Step-by-Step Guide

Have you ever received a beautiful bouquet of flowers and wondered how they were so elegantly wrapped? The art of bouquet wrapping is not as complex as it may seem. With just a few simple steps and a touch of creativity, you can transform an ordinary bunch of flowers into a stunning gift that is sure to impress. In this guide, we'll walk through the process of wrapping a bouquet like a pro.
Step 1: Gather Your Bouquet
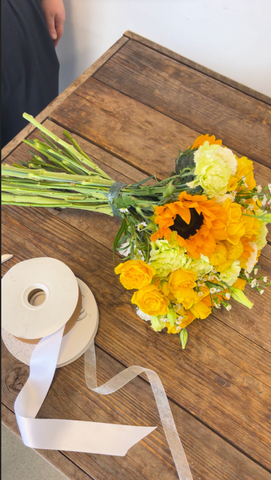
Before you begin wrapping, gather your bouquet of flowers. Make sure the stems are all aligned at the same height. Then, secure the stems together with a rubber band. This will keep the flowers in place and make the wrapping process much easier.
Step 2: Measure and Cut Your Ribbon

Now, it's time to choose your ribbon. Select a ribbon that complements the colors of your bouquet. Measure out the desired length of ribbon, ensuring it is long enough to wrap around the bouquet multiple times. Once you've measured the ribbon, use scissors to cut it to the appropriate length.
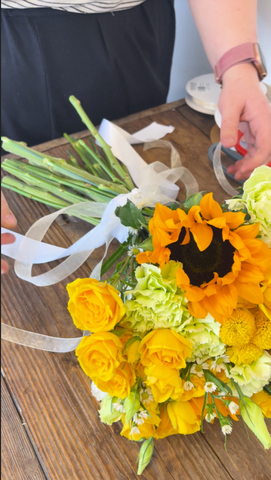
Step 3: Wrap the Ribbon Around the Bouquet

Take your first ribbon and wrap it around the bouquet, starting at the top where the rubber band is located. Wrap the ribbon around the stems three times, ensuring it is snug but not too tight. On the third loop, tie a knot to secure the ribbon in place.
Step 4: Add a Bow for Extra Flair
For an added touch of elegance, grab another ribbon of your choice and repeat steps 2 and 3. This time instead of tying a knot, tie a bow. You can adjust the size of the bow to your liking, whether you prefer a small and dainty bow or a larger statement piece.
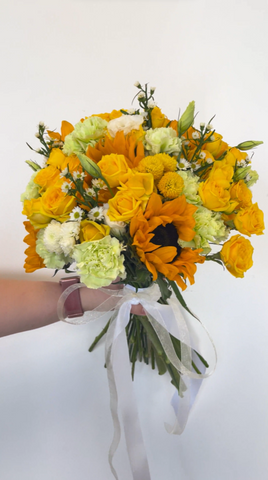
Step 5: Finishing Touches
Once you've tied the bow, take a moment to adjust the ribbons and fluff them up to ensure they look perfect. Gently rearrange any flowers that may have shifted during the wrapping process. Finally, trim the ends of the ribbon at an angle for a polished finish.
Step 6: Let the Blooms Dance
Your beautifully wrapped bouquet is now ready to be presented to its lucky recipient. As you hand it over, watch as the recipient's face lights up with joy. Whether it's for a special occasion or just to brighten someone's day, a carefully wrapped bouquet is a thoughtful gesture that will be remembered and appreciated.
In conclusion, wrapping a bouquet is a simple yet impactful way to elevate a gift of flowers. With these easy-to-follow steps, you can create a stunning arrangement that is sure to delight anyone who receives it. So go ahead, let the blooms dance and may your bouquet be at its best!
ABOUT THE AUTHOR


