How to Make a Flower Crown in 6 Simple Steps

Flower crowns have a timeless and ethereal charm, making them a stunning addition to any look, from wedding attire to festival fashion. In this step-by-step guide, we'll walk you through how to create your very own flower crown. But before we dive into the creative process, let's talk about the essential choice of flowers for your floral masterpiece.
Choosing the Perfect Flowers
When it comes to crafting a flower crown, not all flowers are created equal. To achieve your perfect flower crown look, you'll want to select a combination of small filler flowers and focal blooms. Some great choices for filler flowers include: spray roses, baby's breath, and wax flowers. For greenery, consider eucalyptus, olive branches, and italian ruscus. If you are wanting bolder focal flowers, some choices include garden roses, orchids, peonies, and anemones.
Creating Your Flower Crown: A Step-by-Step Guide
Step 1: Connect Two Pieces of Wire
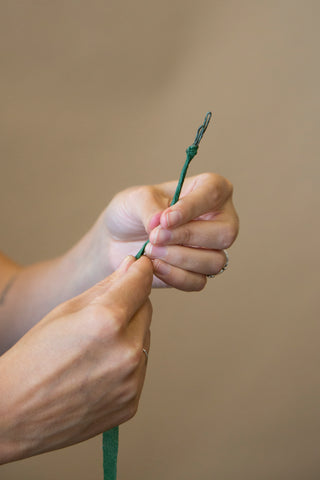
Begin by connecting two pieces of wire. If you plan on using heavier flowers, it's a good idea to double up on the wire to ensure your blooms are stabilized. Cross the wires at about five inches and twist them around each other. For added charm, you can use fabric-coated wire.
Step 2: Measure the Wire Around Your Head
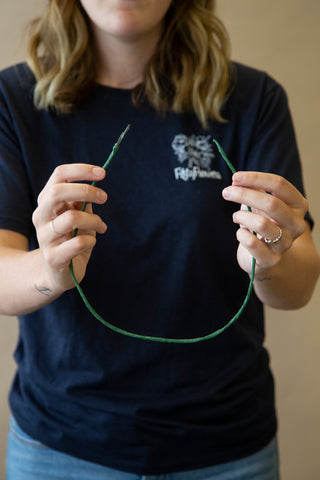
Measure the wire around your head, ensuring you leave a little extra room as the floral tape will cause the wire to become slightly smaller as you wrap flowers around it. Twist the other side of the wire until you've formed a circle. Don't forget to consider your hairstyle when measuring to ensure a comfortable and correct fit!
Step 3: Trim Your Flowers
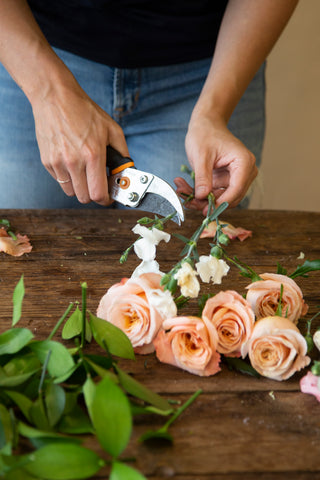
Trim your flowers, leaving about three inches of stem. It's a good idea to cut and prep all your flowers in advance, saving time during the creative process.
Step 4: Wire Each Flower Stem
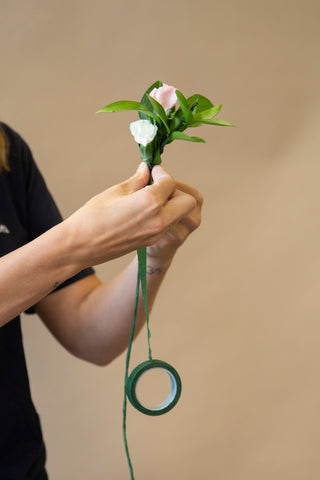
For added support, insert a piece of wire about four inches long through the stem close to the flower head. Bend the two wires down the length of the stem and use floral tape to wrap the entire stem. This step adds stability and creates the illusion of one solid stem.
Step 5: Attach Flowers To Crown
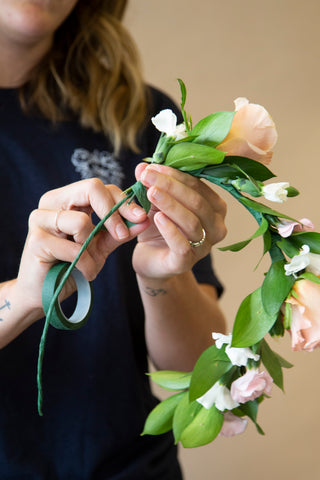
Begin adding your flowers to the crown while securing them with a little bit of floral tape. Add each stem in the same direction, ensuring you alternate between flowers and greenery if you've opted for it. Place clusters of filler flowers in between to create a harmonious pattern and full appearance.
Step 6: Fill in the Empty Spaces
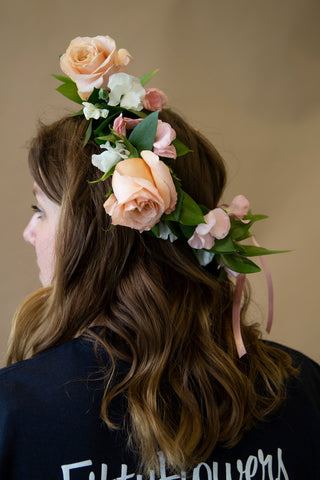
Once the bulk of your flowers have been placed, use floral adhesive to attach filler flowers in any empty spaces. Let the adhesive become slightly tacky in a disposable container, then dip the stems into it and insert the filler among the other flower stems. You can choose to cover a small portion of the crown, or continue adding more flowers and greenery for a fuller, more elaborate look.
Bonus Step: Refrigerate Your Flower Crown (If Not Wearing Immediately)
If you've created your flower crown in advance, store it in the refrigerator to maintain its freshness. Ensure it's placed away from fruits and veggies, as the natural gas emitted by fruits can speed up wilting and flowering. When you're ready to wear your crown, mist it lightly with water, and it will look fresh and fabulous!
Now you have the skills to craft your own enchanting flower crown, perfect for any occasion. Let your creativity bloom and embrace the natural beauty of flowers in a unique and wearable art form.
Unleash your inner floral artist and create your very own stunning flower crown. Explore our vibrant selection of DIY Flower Kits at FiftyFlowers to find the perfect blooms for masterpieces you can create with others. Whether it's for a wedding occasion, a festival, or simply to embrace your love for nature, a flower crown is a symbol of beauty and creativity. Start crafting your floral dream with friends today – the possibilities are as endless as your imagination!
